How To Make A Home Compost - What To Put And What Not To
Your garden plants need nutrient-rich soil to thrive, and the perfect source of nutrients is compost. While many believe home composting can be messy, smelly, and difficult to get right, that’s not the case. Why buy bags of compost from the garden center when all that kitchen scrap, garden waste, and biodegradables can be transformed into rich, organic compost at home! As long as you know what things can go in there and what should stay out of the pile, you can have the perfect soil conditioner for the upcoming growing season.
Steps To Make Home Compost
There are different ways to make home compost. For some, a compost pile can be as simple as a hole in the ground where they dump all the compostables. Others use tumblers or compost bins to speed things up a bit.
Here’s how to do backyard composting in a few simple steps:
Step 1: Choose A Spot
Choose a dry, shaded location to set up your compost pile or bin. The spot should be close to a water source.
Step 2: Add Material
Add compostable materials to the pile. Ensure you have enough material to make the pile at least 3 feet deep. If you don’t have enough material yet, wait some more until you’ve collected enough waste to compost.
Not everything is compostable. Larger pieces should be chopped or shredded before dumping into the pile for faster results. Continue reading, and you’ll learn what things can be put in the pile and what things can’t.
Step 3: Maintain Moisture
Sprinkle water over the compost pile regularly. Microbes in the compost pile are continuously at work, breaking down the organic waste into compost, and they need water to do their job right. The compost pile should be maintained as moist as a wrung out sponge. Too much moisture will drown the microbes and rot the pile.
Step 4: Turn The Pile
Microbes hard at work also need oxygen to continue working their best. Turning the pile every few weeks helps keep it aerated and the microbes happy. A compost tumbler makes the job easier for you. You’ll need to turn with a pitchfork or compost aerator for a traditional compost pile.
The best time to turn the pile is when the center feels warm to touch. Alternatively, you can use a compost thermometer to check the pile’s temperature. When the thermometer reads between 130 to 150 degrees Fahrenheit, give it a good stir to help it compost faster and prevent it from developing a bad smell.
Step 5: Check If It Is Ready
When the pile no longer heats up, turns a rich brown color, and feels dry and crumbly to touch, it’s ready. The time it takes for compost to be ready varies with the method you choose and the level of effort you put in. As long as you maintain the correct moisture and turn it regularly, you’ll have your compost ready in the next few months. If the compost pile is left untouched, it can take up to a year or even longer in some cases.
Step 6: Feed Your Plants
Once your home compost is ready, it’s time to feed the plants. Add a thick layer of compost to the garden bed at the beginning of each planting season. Alternatively, you can mix in 4 to 6 inches of compost in the topsoil before planting. For plants that are already growing, side-dress your homemade compost around the base of the plants. It will act as a slow-release fertilizer, nourishing your plants over an extended period of time.
What To Compost
Composting is an excellent way to recycle kitchen and yard waste. Here are some things that can go in your compost pile:
● Fruit and vegetable scraps
● Egg shells
● Tea bags
● Coffee grounds
● Cardboard
● Sawdust
● Wood chips
● Shredded newspaper
● Grass clippings
● Shredded leaves
● Straw
● Bark chips
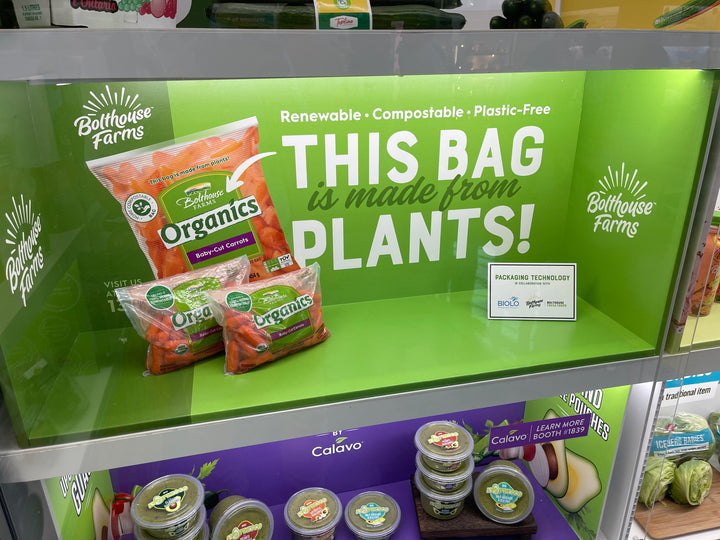
● TUV Home Compost certified biodegradable plastic
What Not To Compost
Not everything can go in your compost pile. Here are some things that are best kept out of the pile:
● Ashes from coal or charcoal (can be harmful to plants)
● Meat and fish scraps (creates smell and attracts pests)
● Diseased plants (diseases can spread to your future plants)
● Weeds (weed seeds might survive and spread to your garden)
● Pet waste (might include pathogens harmful for plants)
● Black walnut leaves (contains substances harmful to plants)
● Yard waste treated with pesticides (may kill microbes)
● Biodegradable plastic without a TUV Home Compost label
A Word On Composting Biodegradable Plastic
Biodegradable plastic is an excellent initiative to reduce landfill waste and fight environmental pollution. However, it’s important to know that not every biodegradable plastic works as anticipated when dumped in a home compost pile.
While most biodegradable plastics are OK for industrial composting where temperatures are higher and composting is more efficient, you need to look for a TUV Home Compost label before deciding if the plastic product is OK to put in a home compost.
That’s precisely why at Biolo, all our products are carefully created with 100% Nodax PHA, certified for TUV Home Compost. It takes between 80 to 100 days for Biolo products to biodegrade in a home compost pile and even faster in an industrial compost setup.
Make sure to use TUV Home Compostable plastic bags so they won’t end up polluting our dear Earth!